
📒Enhanced Notes
Enhanced notes offer a convenient method for logging client interactions. In this section, we'll guide you through the following tasks:
Create a new note
Defining the subject
Adding a body
Modify existing notes
Navigate through note history
Filter by user
Filter by role
✏️Creating a new note
Navigate to the lead or opportunity you would like to leave notes on
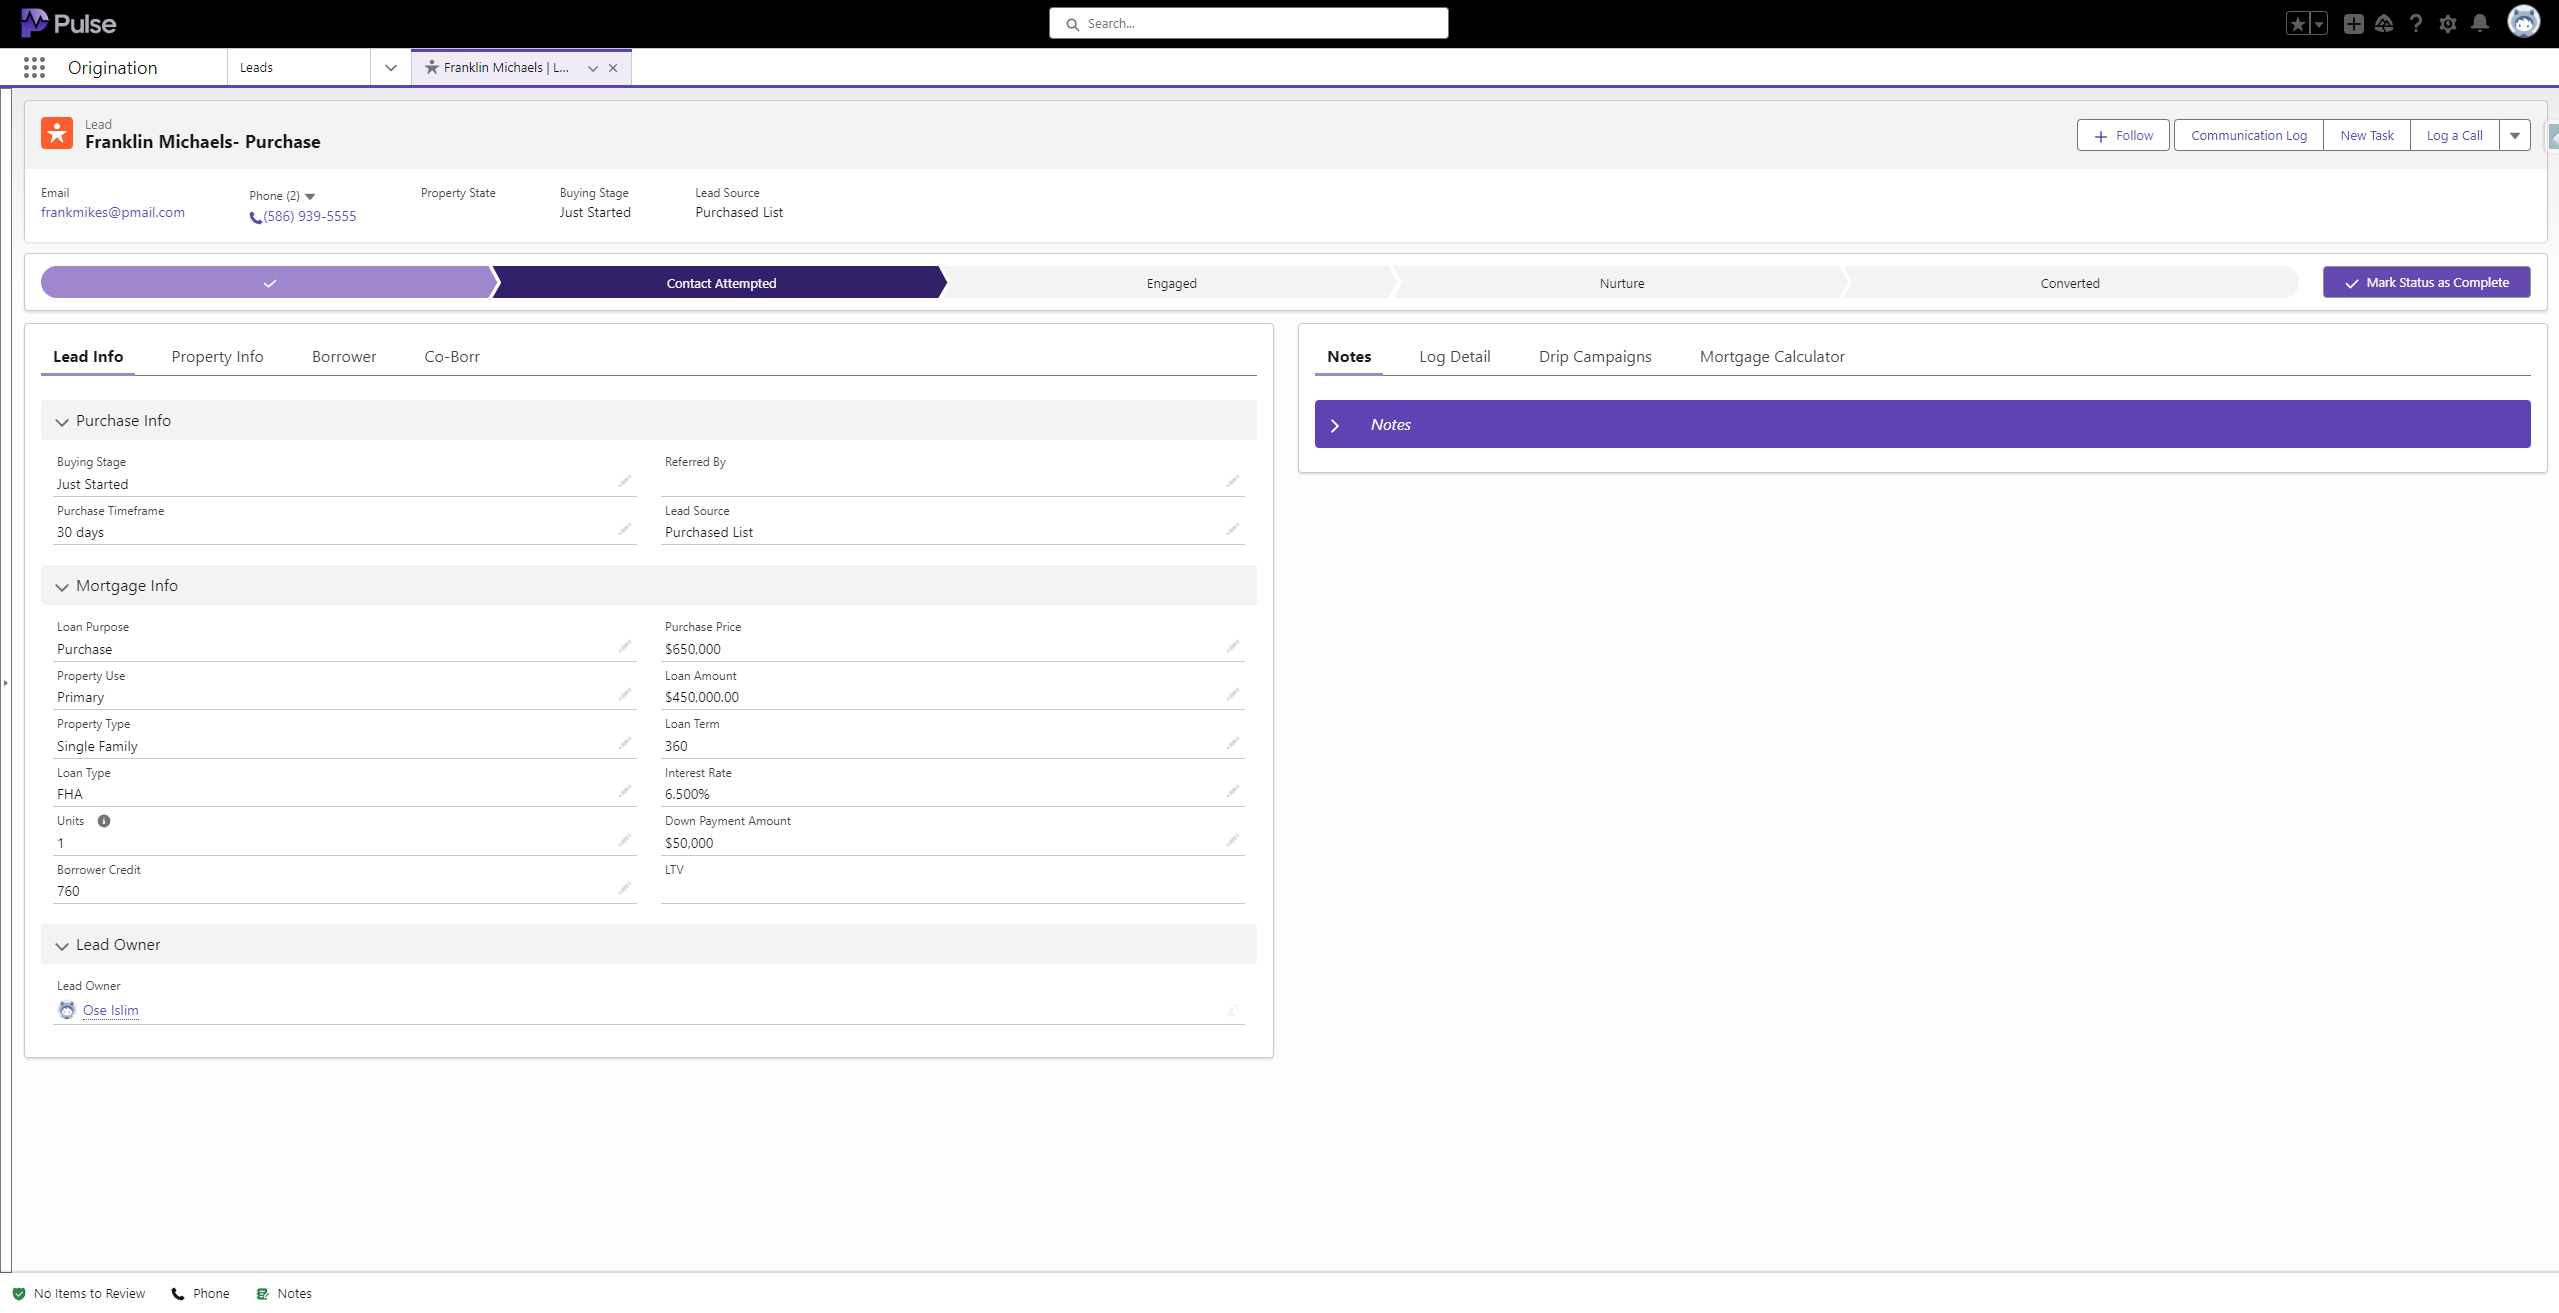
Click the dropdown arrow in the Notes section
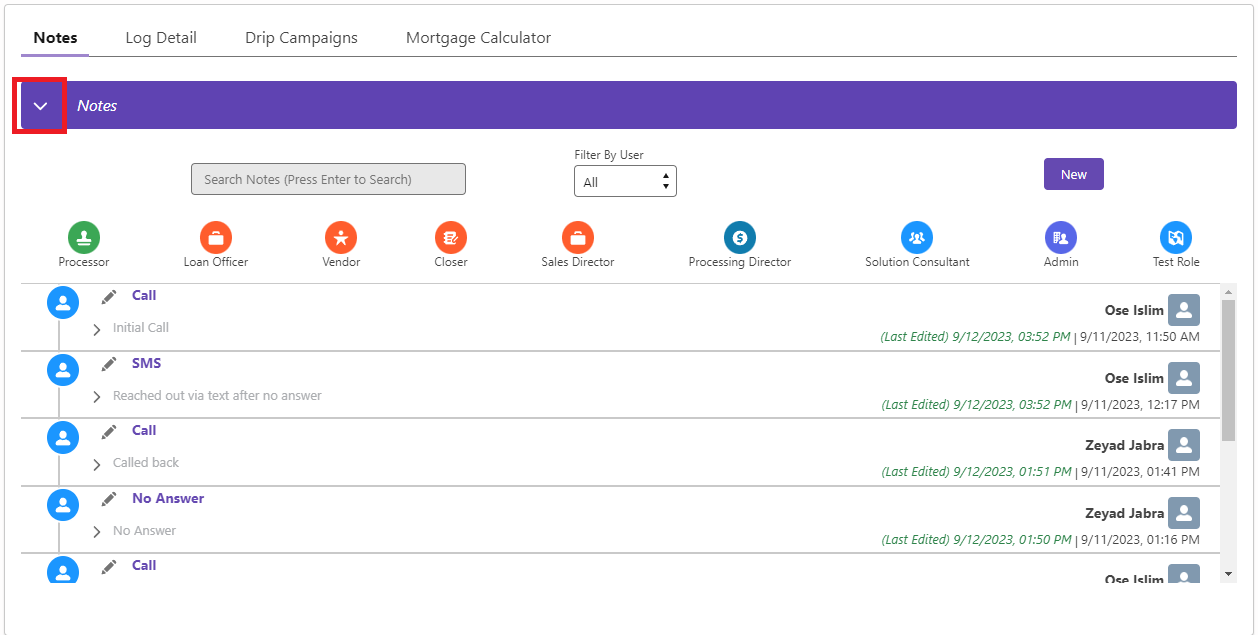
Click on “New”

In the "Subject" field, enter the subject of this note. For instance, in this example, we'll use "Follow-up call."
In the “Body” text box, type the note you would like to make.
The “Body” text box supports up to 130,000 characters
Click on “Create Note” to save your note
🧭Navigating Note History
You can search through the note history in three different ways:
The “Search Notes” bar
In the “Notes” component, click into the “Search Notes” text box
Type your search criteria and press Enter to search:

The "Search Notes" bar will find matches based on your search criteria in both the subject and body of existing notes.
The “Filter By User” drop down
In the “Notes” component select the “Filter By User” dropdown
Select a user from the list
Only notes made by the selected user will be shown
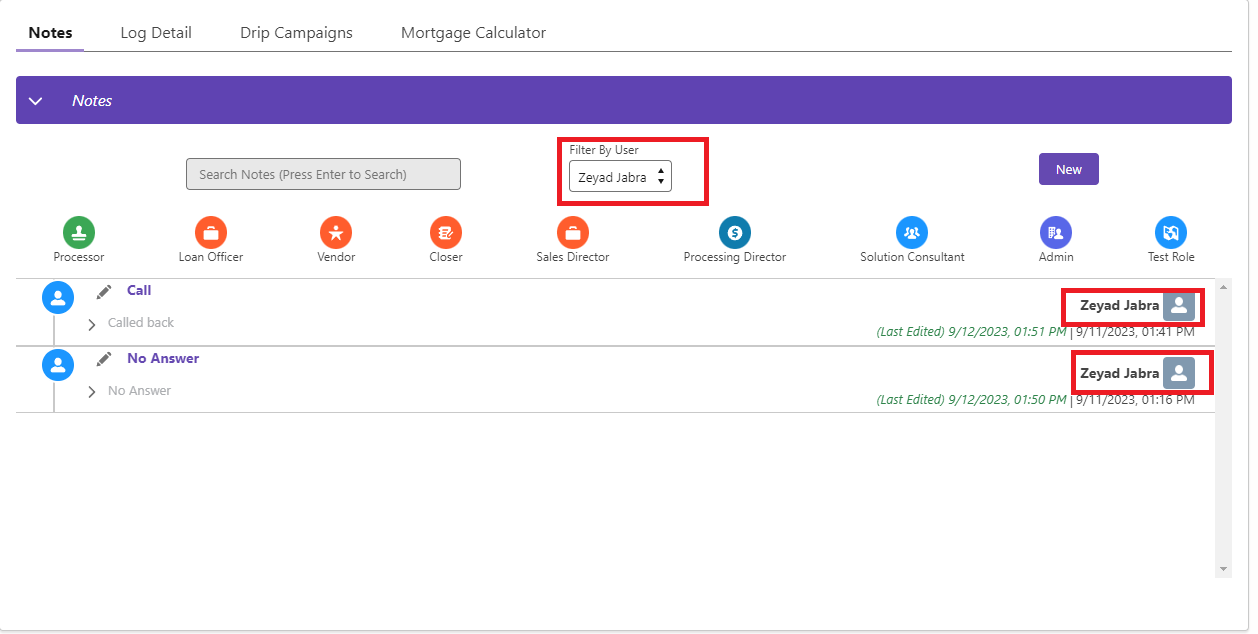
The "Filter By User" dropdown will display a list of users who have added notes to this record.
The “Role Filter Icons”
In the “Notes” component you will find icons that represent different roles at your company:
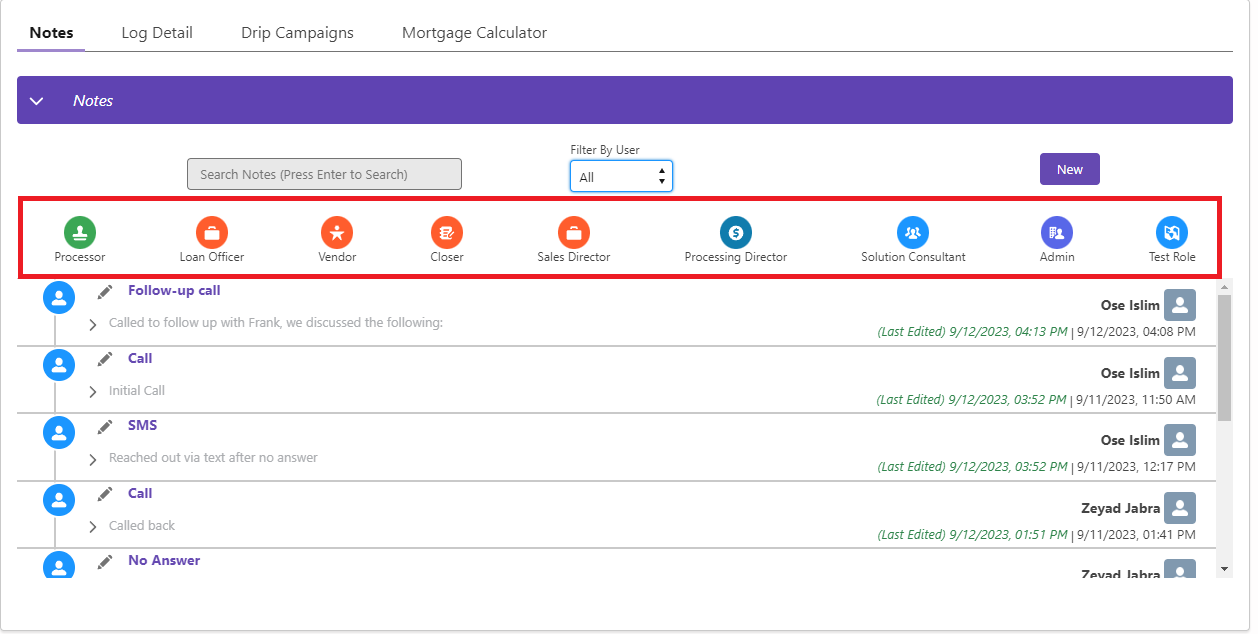
Choose one or more of these roles to display notes contributed by users in those roles.
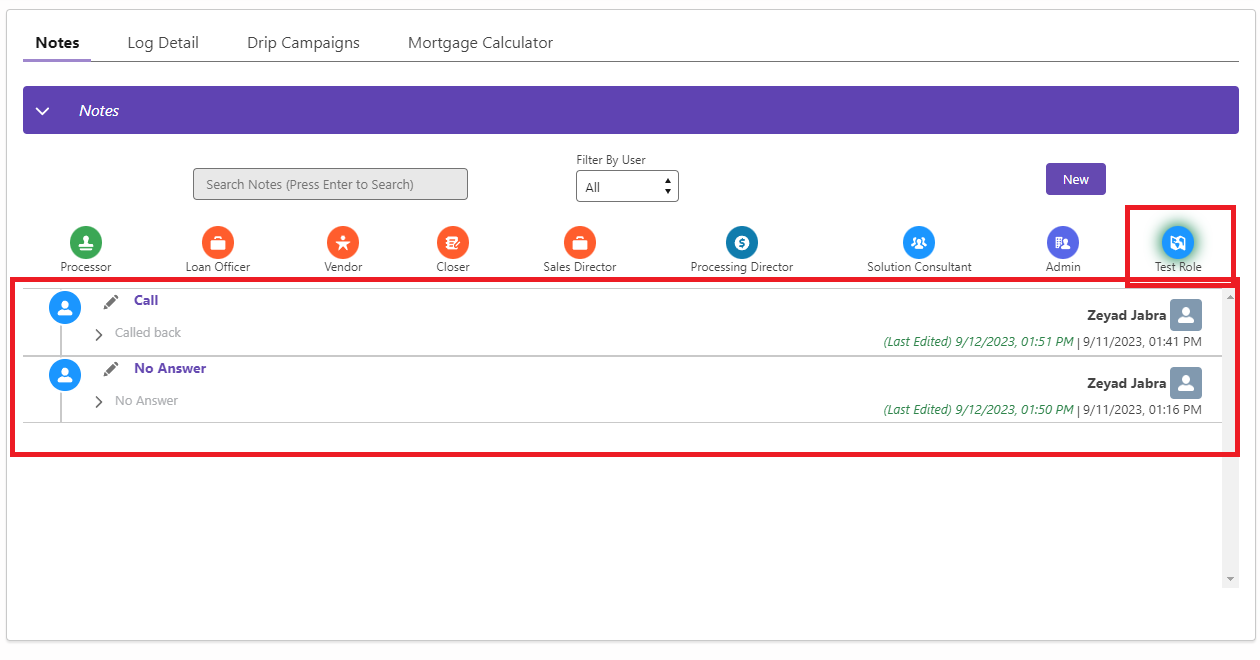
User roles are managed by your Salesforce Admin.
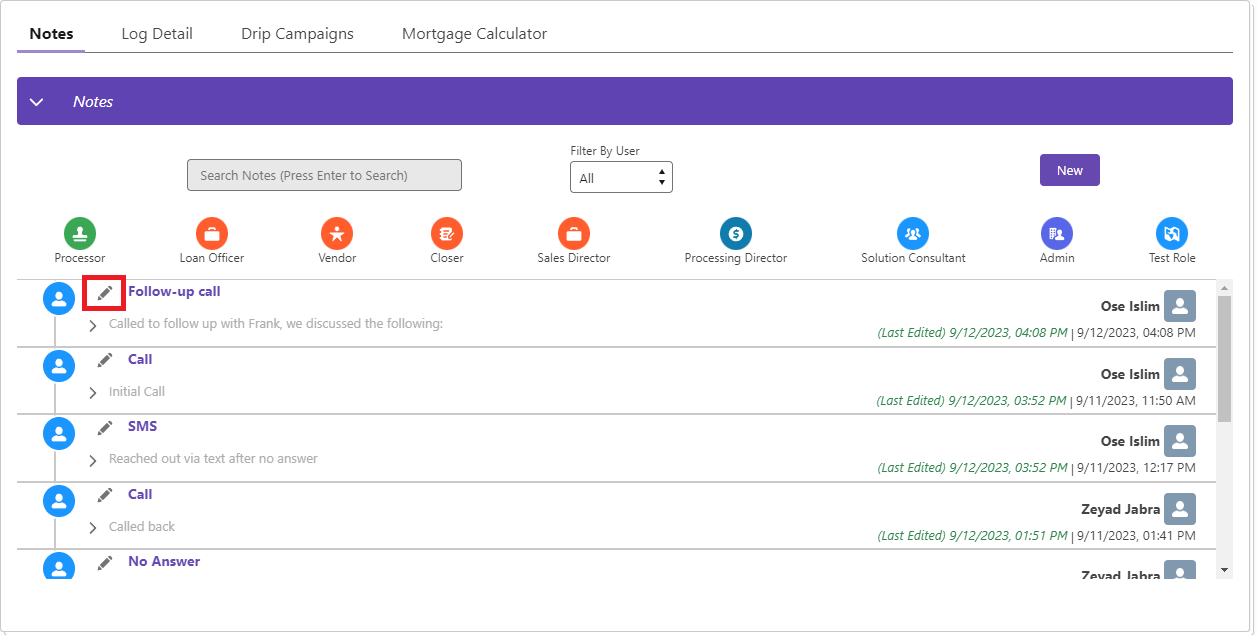
🧹Modifying Existing Notes
In the “Notes” component, search for the note you would like to modify and click the pencil icon
In the “Edit Note” popup, make your desired changes
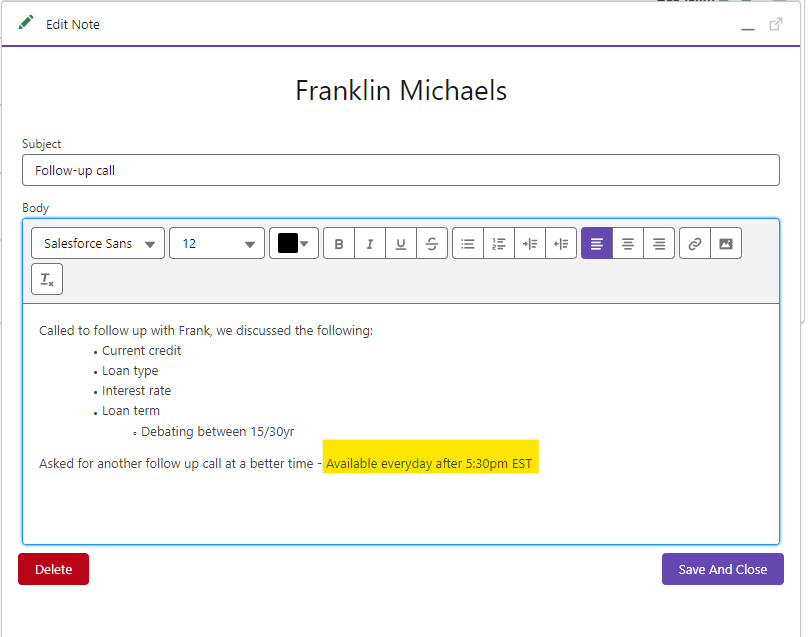
Save and close your note