🩸Drip Campaign
Drip campaigns serve as an effective way to nurture client relationships and drive engagement throughout the mortgage process. By automating a series of carefully crafted emails and communications, you can deliver timely and relevant information to your clients, keeping them informed and engaged every step of the way. During this phase, we'll choose the email address from which your drip campaigns will originate. Additionally, we will set up and customize your drip campaign emails and generate the necessary drip campaign records.
📧Email Address
This email address will serve as the designated sender for Drip Campaign notifications.
From the Onboarding Wizard, click on the “Select Organization Wide email Addresses:

To create a new organization wide email address, click here.
Click on “Configure Your Email Templates for your Drip Campaign Emails:”

The following page will open in a new tab:
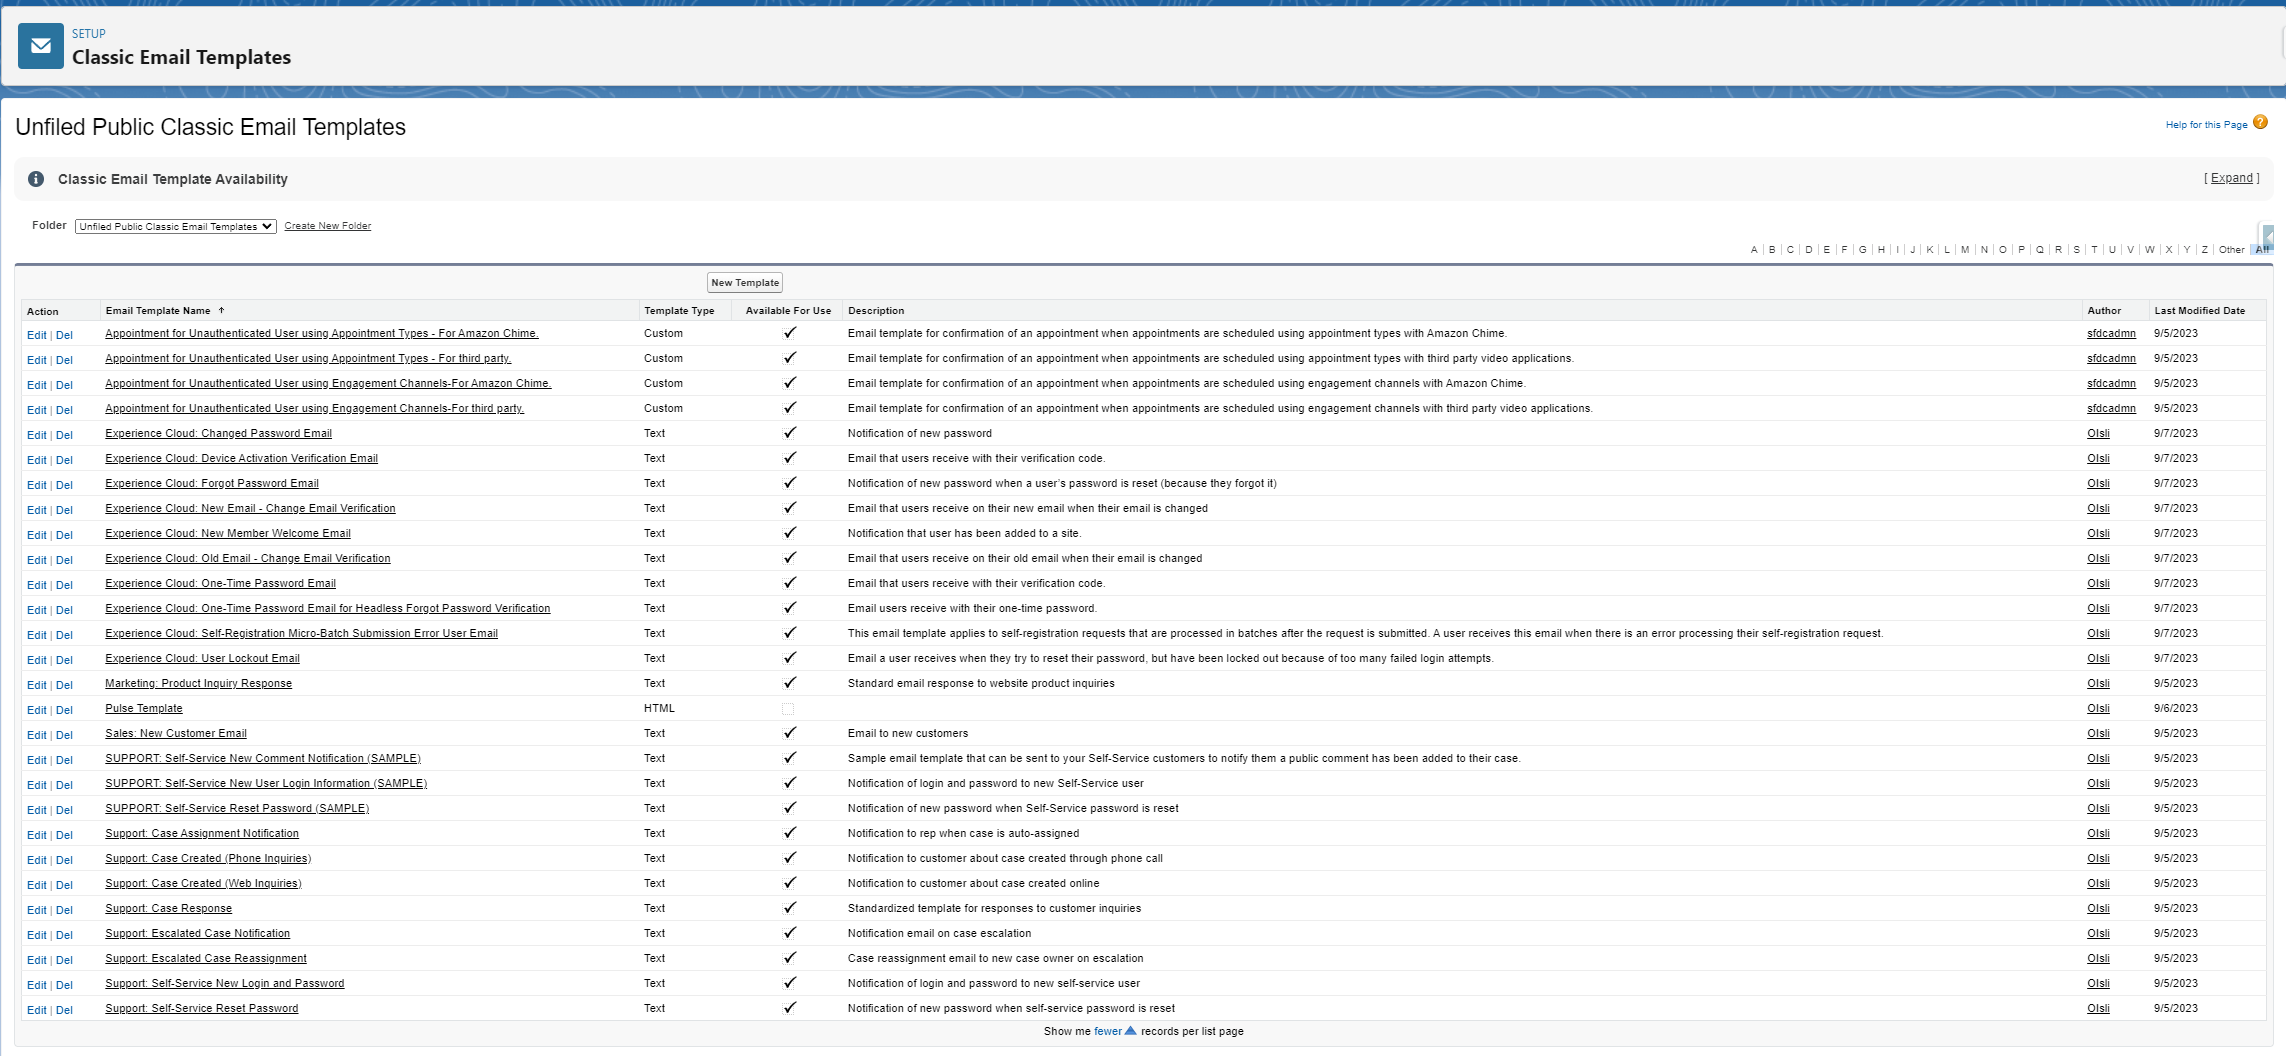
These are the emails that will be dispatched as part of a Drip Campaign. To create a new email template, click here.
Select select the email(s) you would like to include in your Drip Campaign, the following page will open:

From the URL, record the email ID(s):

(Ignore the preceding “2F” for this example, the ID will be: 00XHs000001luzo)
This ID will be used in the next step
Return to the Onboarding Wizard, click the blue ☑️ next to “Configure Email Templates”

💧Creating the Campaign
From the app launcher search for “Campaigns” and select it from the list
Once you select “Campaigns” navigate to the cogwheel on the top right of the screen and select “Edit Object”

b. Select “Page Layouts” from the menu on the left side of your screen, then select “Page Layout Assignment” on the right.
c. Select “Edit Assignment”. Click, hold, and drag to highlight the existing page layouts. Select “Pulse Campaign Layout” from the Page Layout To Use dropdown. Change the Layout Assignment as shown below, then select “Save”.

Navigate back to “Campaigns” via the App Launcher. Select “New,” the following page will open:
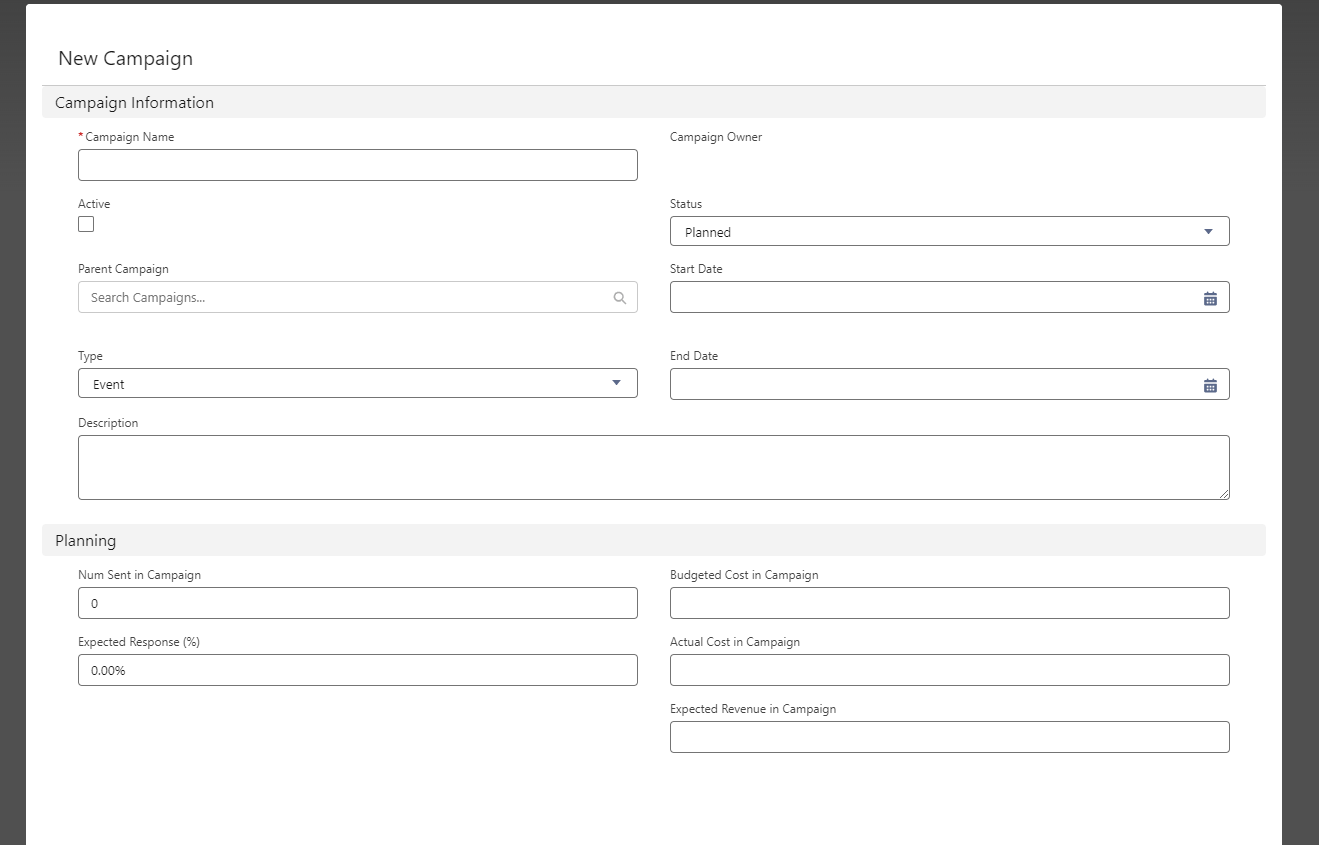
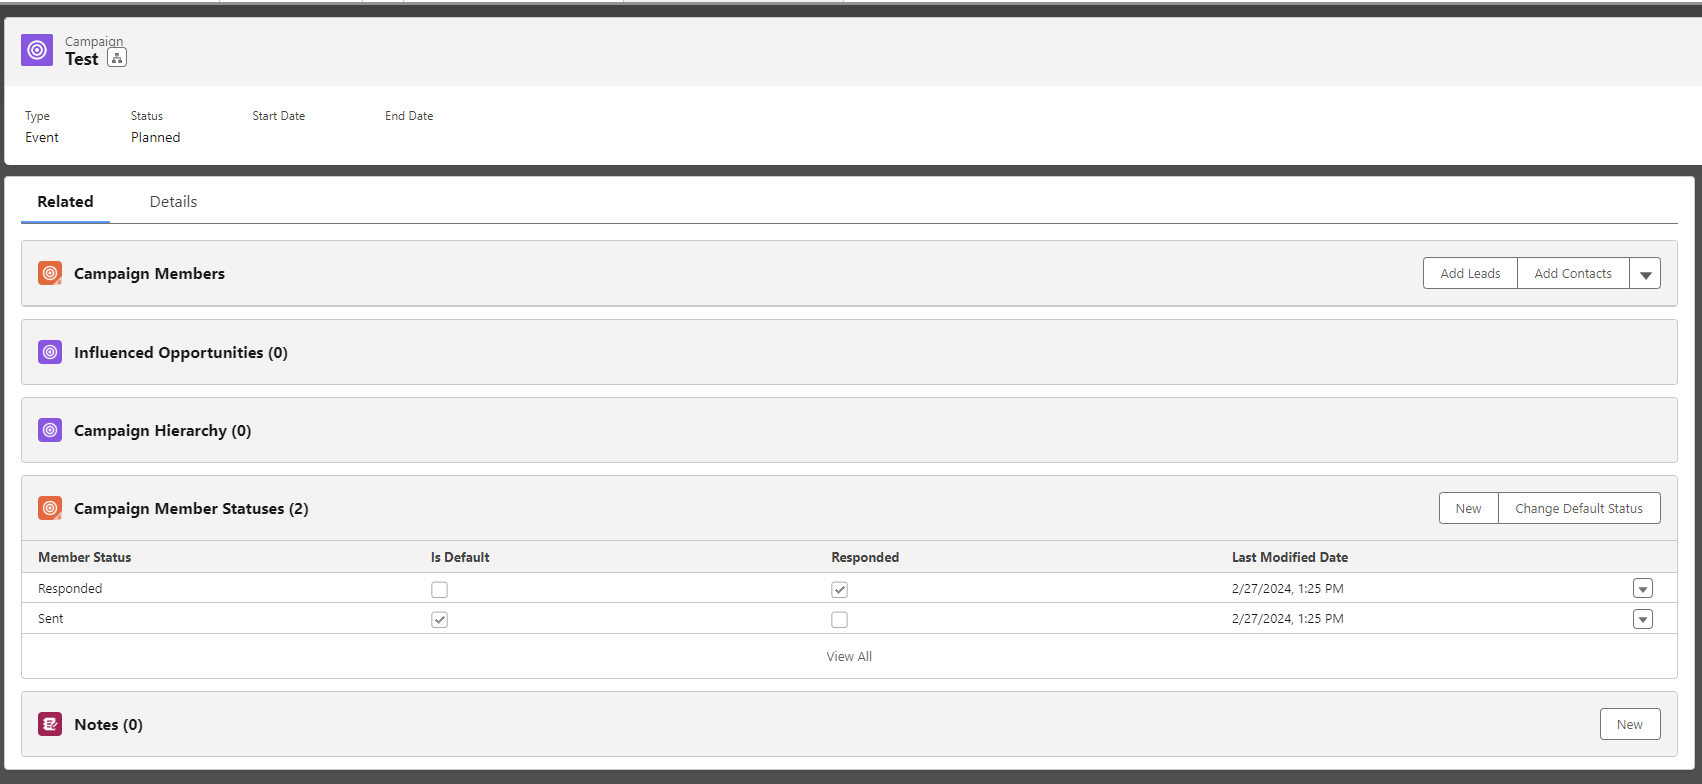
Enter the Campaign Name and Save your new Campaign. The following record will open:
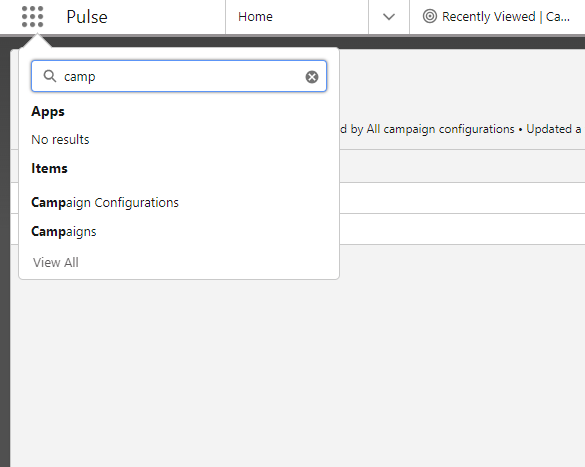
From the App Launcher search for “Campaign Configurations” and select it from the list
Select the configuration for the Campaign you just created, make sure you are on the “Related” tab of the Configuration.
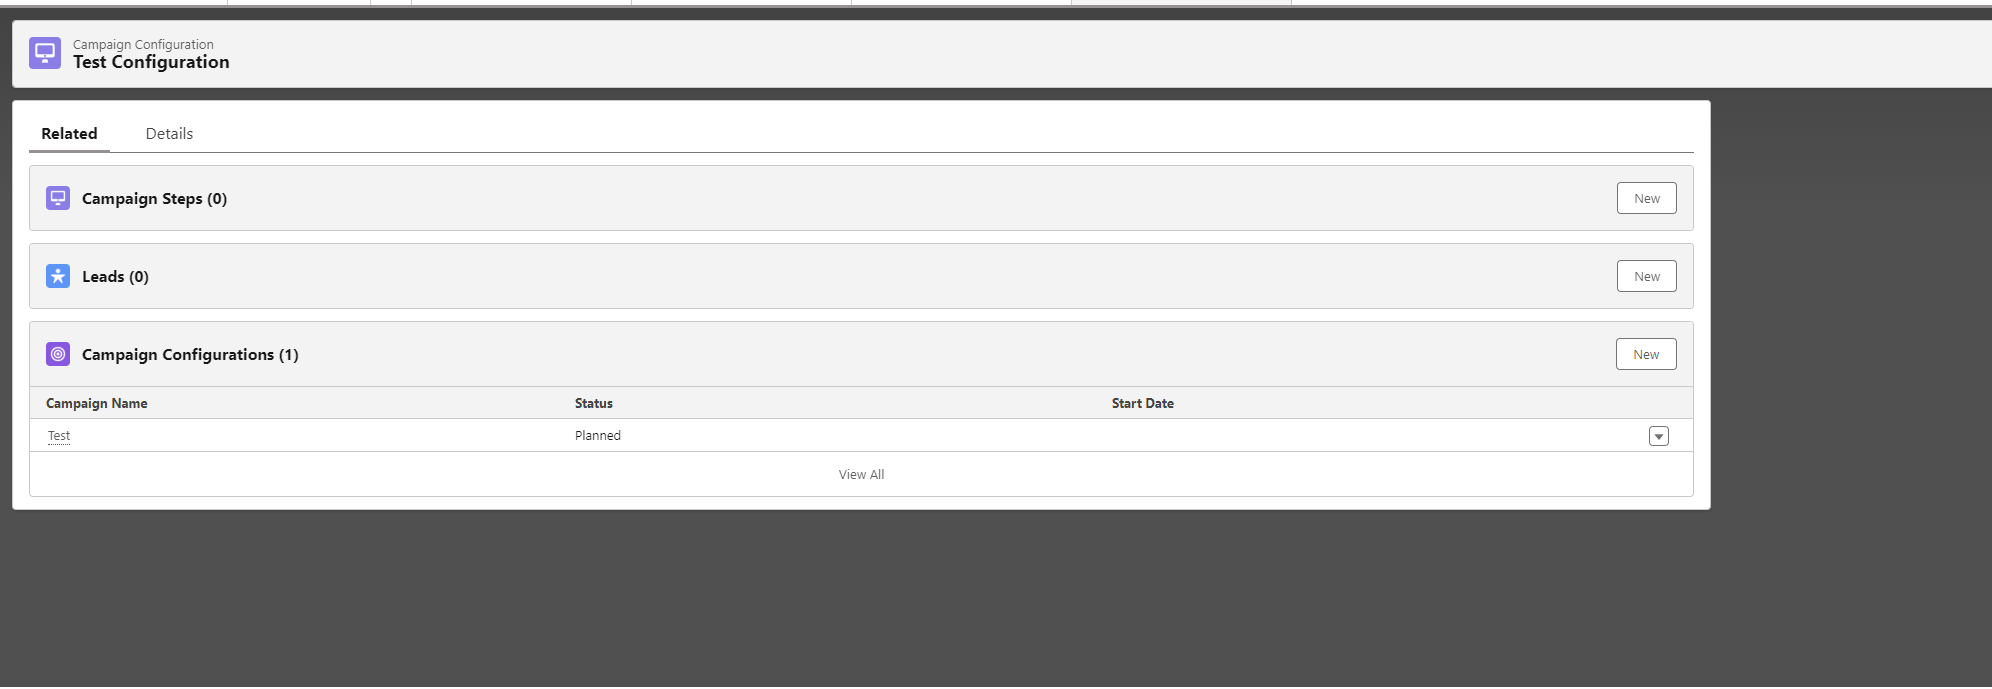
Next to Campaign Steps select ‘New’
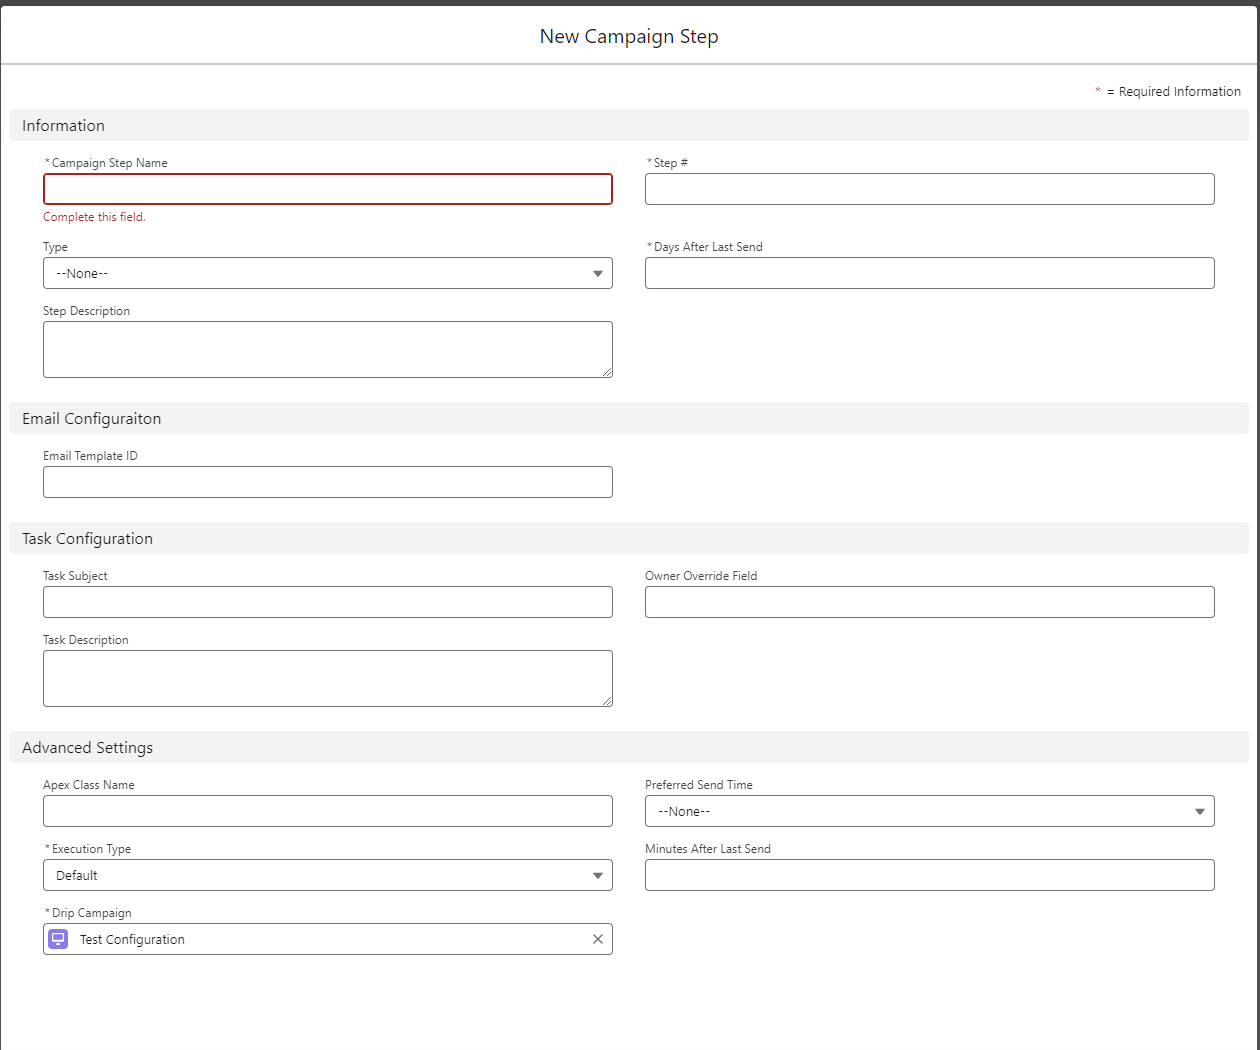
Types of Campaign Steps
There are different “Types” of steps that you can select from. Please review what each type of step will do.
EMAIL - This type of step will send an Email to the recipient.
TASK - This step will create a Task for the Owner of the Lead or Contact on the given date.
If you would like to assign the Task to a different User in the system, please enter the desired API Name of a User Lookup Field from the Lead or Contact.
CUSTOM_APEX - This step will allow you to fire any Apex class. Please see advanced developer options for more details.
CUSTOM_FLOW - This step will launch a Flow. Please see advanced developer options for more details.
Repeat step 5 for each campaign step you would like added to this Drip Campaign
Navigate back to the Onboarding Wizard, click the blue ☑️ next to “Create Campaigns.

Save your changes in the Onboarding Wizard

🪟Overview
Congratulations! You have set up your first Drip Campaign, you are now ready to set your organization’s default Document Management Folder.
